DIY Board and Batten Mudroom
/After a super long holiday break, it is so good to be back with you all! I hope that everyone had a wonderful Thanksgiving with family and friends. We traveled south for the holiday and it was so nice to be in the sunshine state for a week. We soaked up as much as we could and it seems like we even brought some back to Ohio with us!
I am excited to share our latest DIY project with you guys. This has been on our radar since we were under contract with our house and I always thought it would be one of the first projects we tackled. Yet, somehow it took us 7 months to even start. I guess that's just the way life is sometimes!
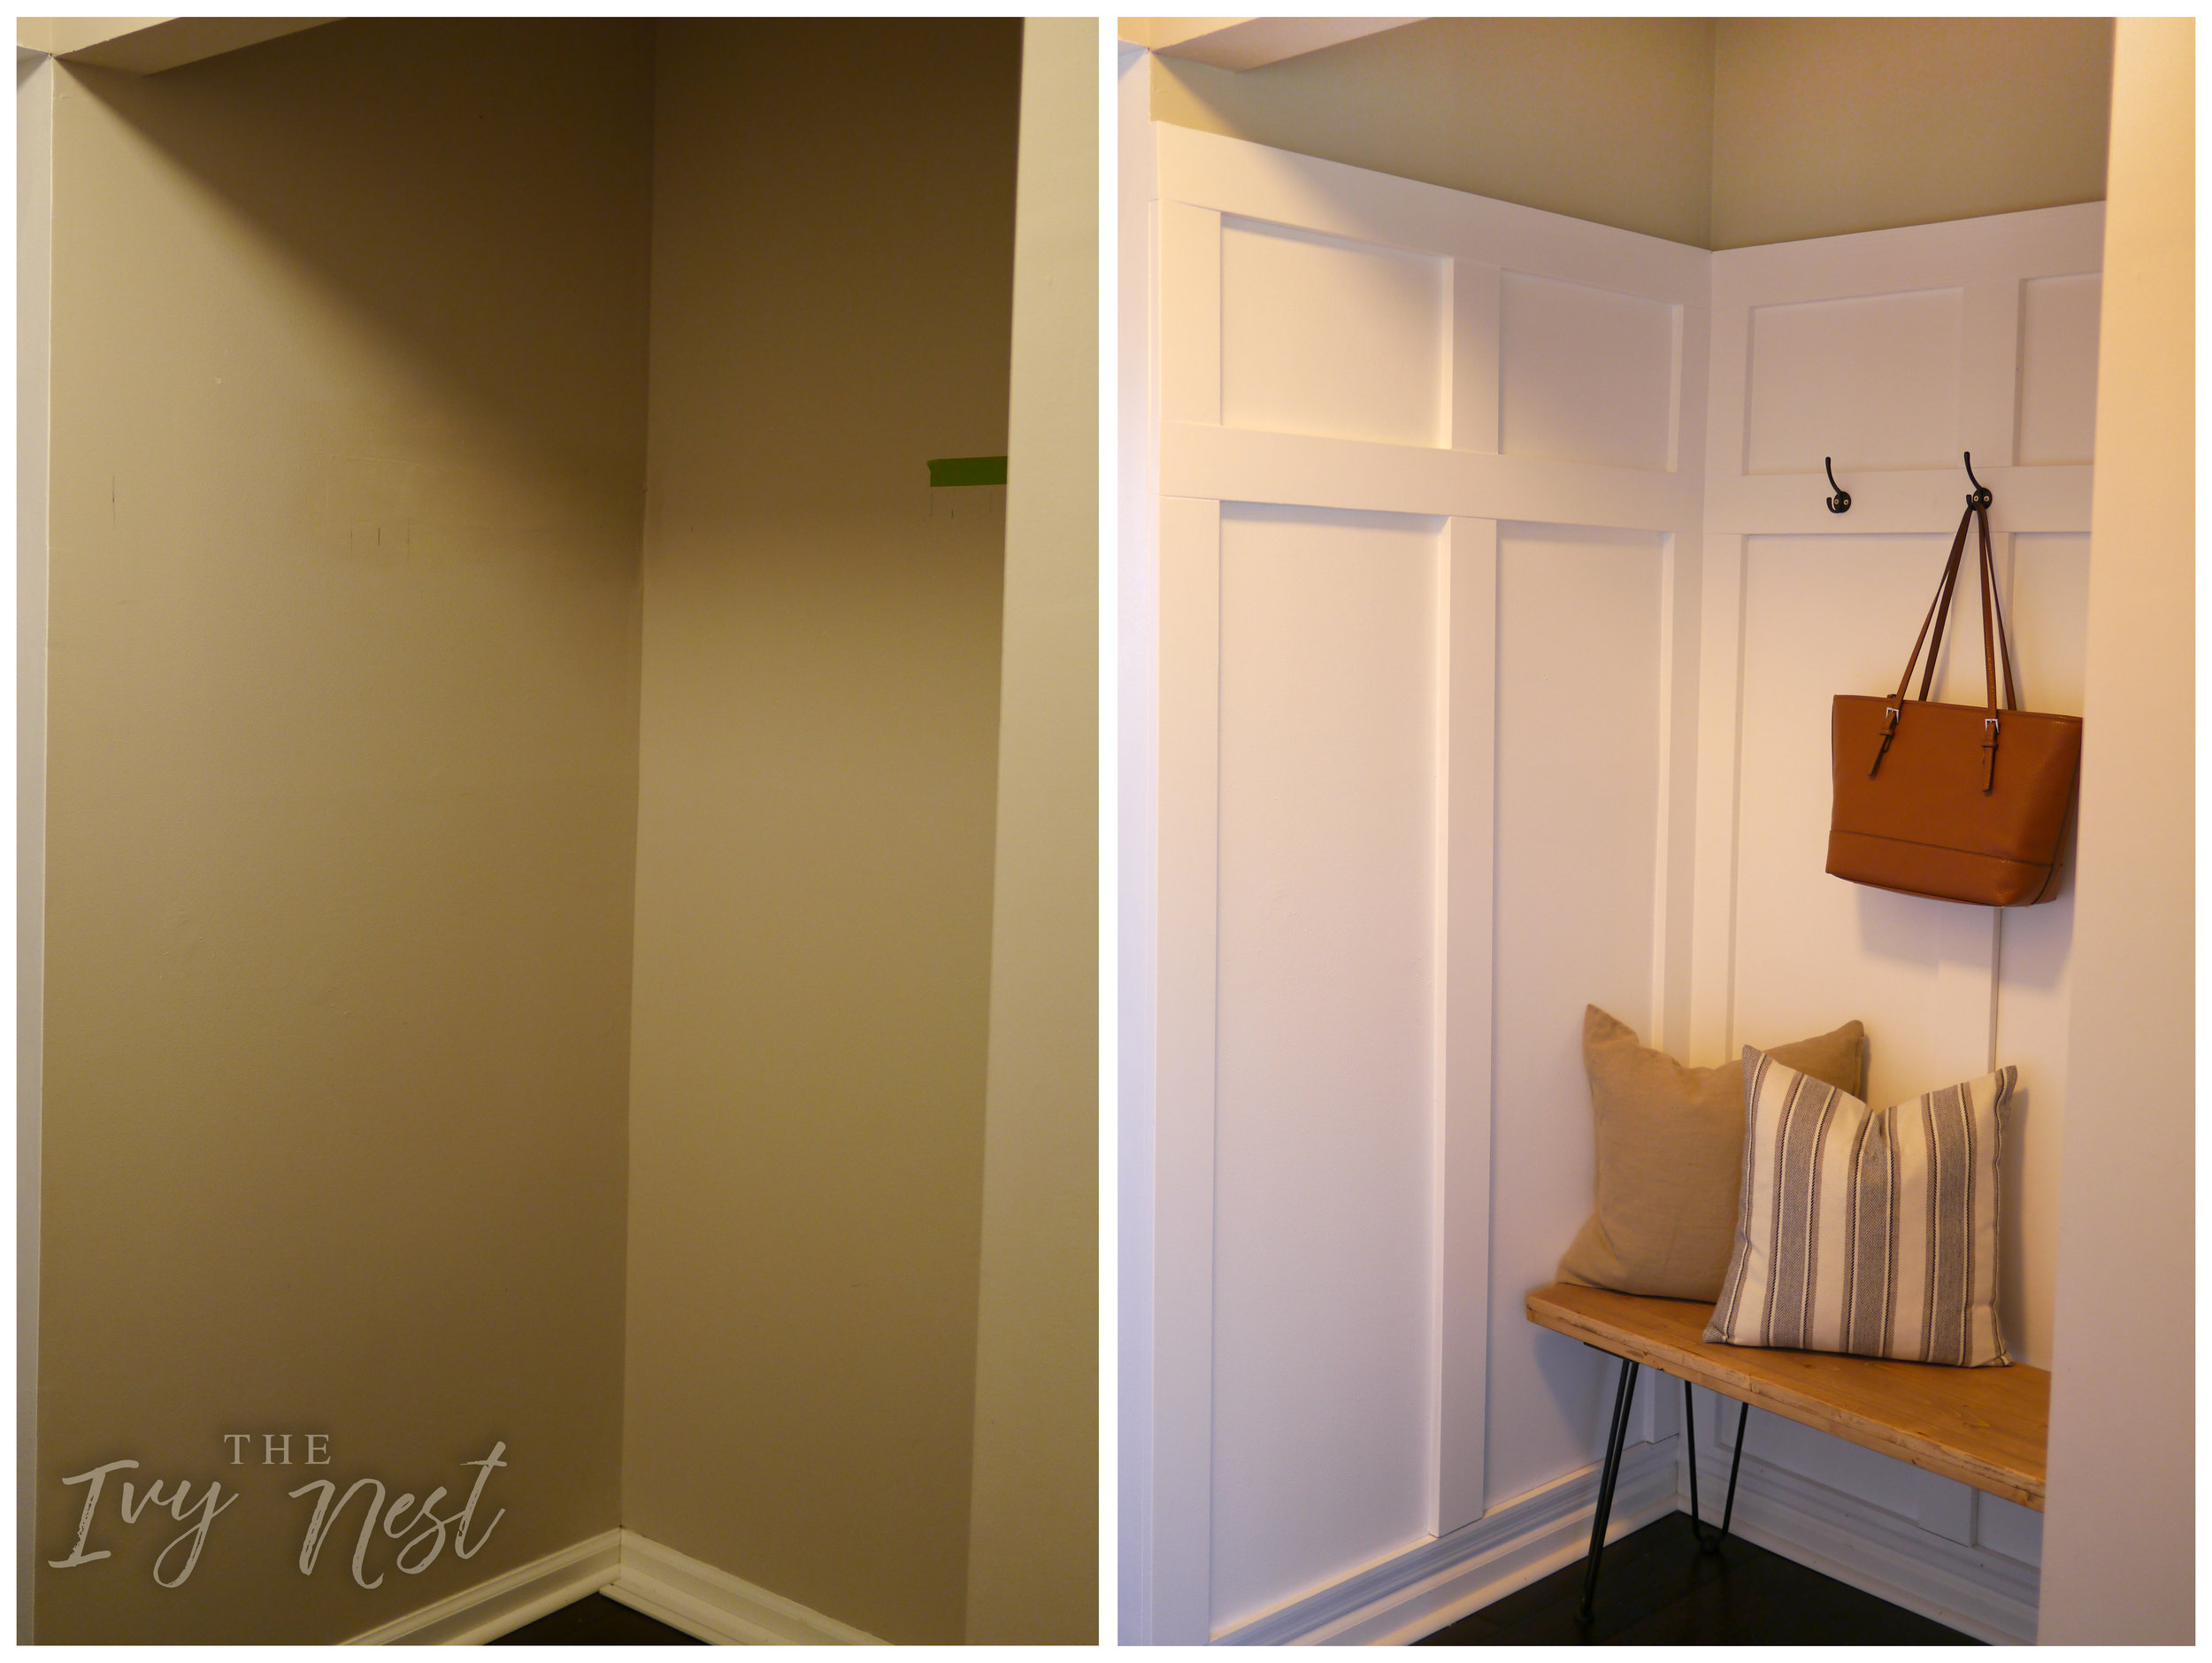
We think this little alcove at some point may have been a closet, but we decided to make it our mudroom! This space is right around the corner from our door to the garage and since that is the door we use most often we thought it would be the perfect spot for some hooks and extra storage. This is in the hallway between our dining room and living room so the lighting isn't great (sorry for some dark pictures), but we are super happy with how it turned out! Overall this project took about a weekend to complete and cost us under $100!
Supplies needed:
nailgun & nails
spackle & caulk
primer & paint
saw
sandpaper
level & tape measure
1x4, 1x3, 1x10 boards
baseboard
To start, we figured out how much wood we needed for the height of board and batten we wanted, as well as figured out our spacing for the boards. We then measured and cut the baseboard to fit in the space.
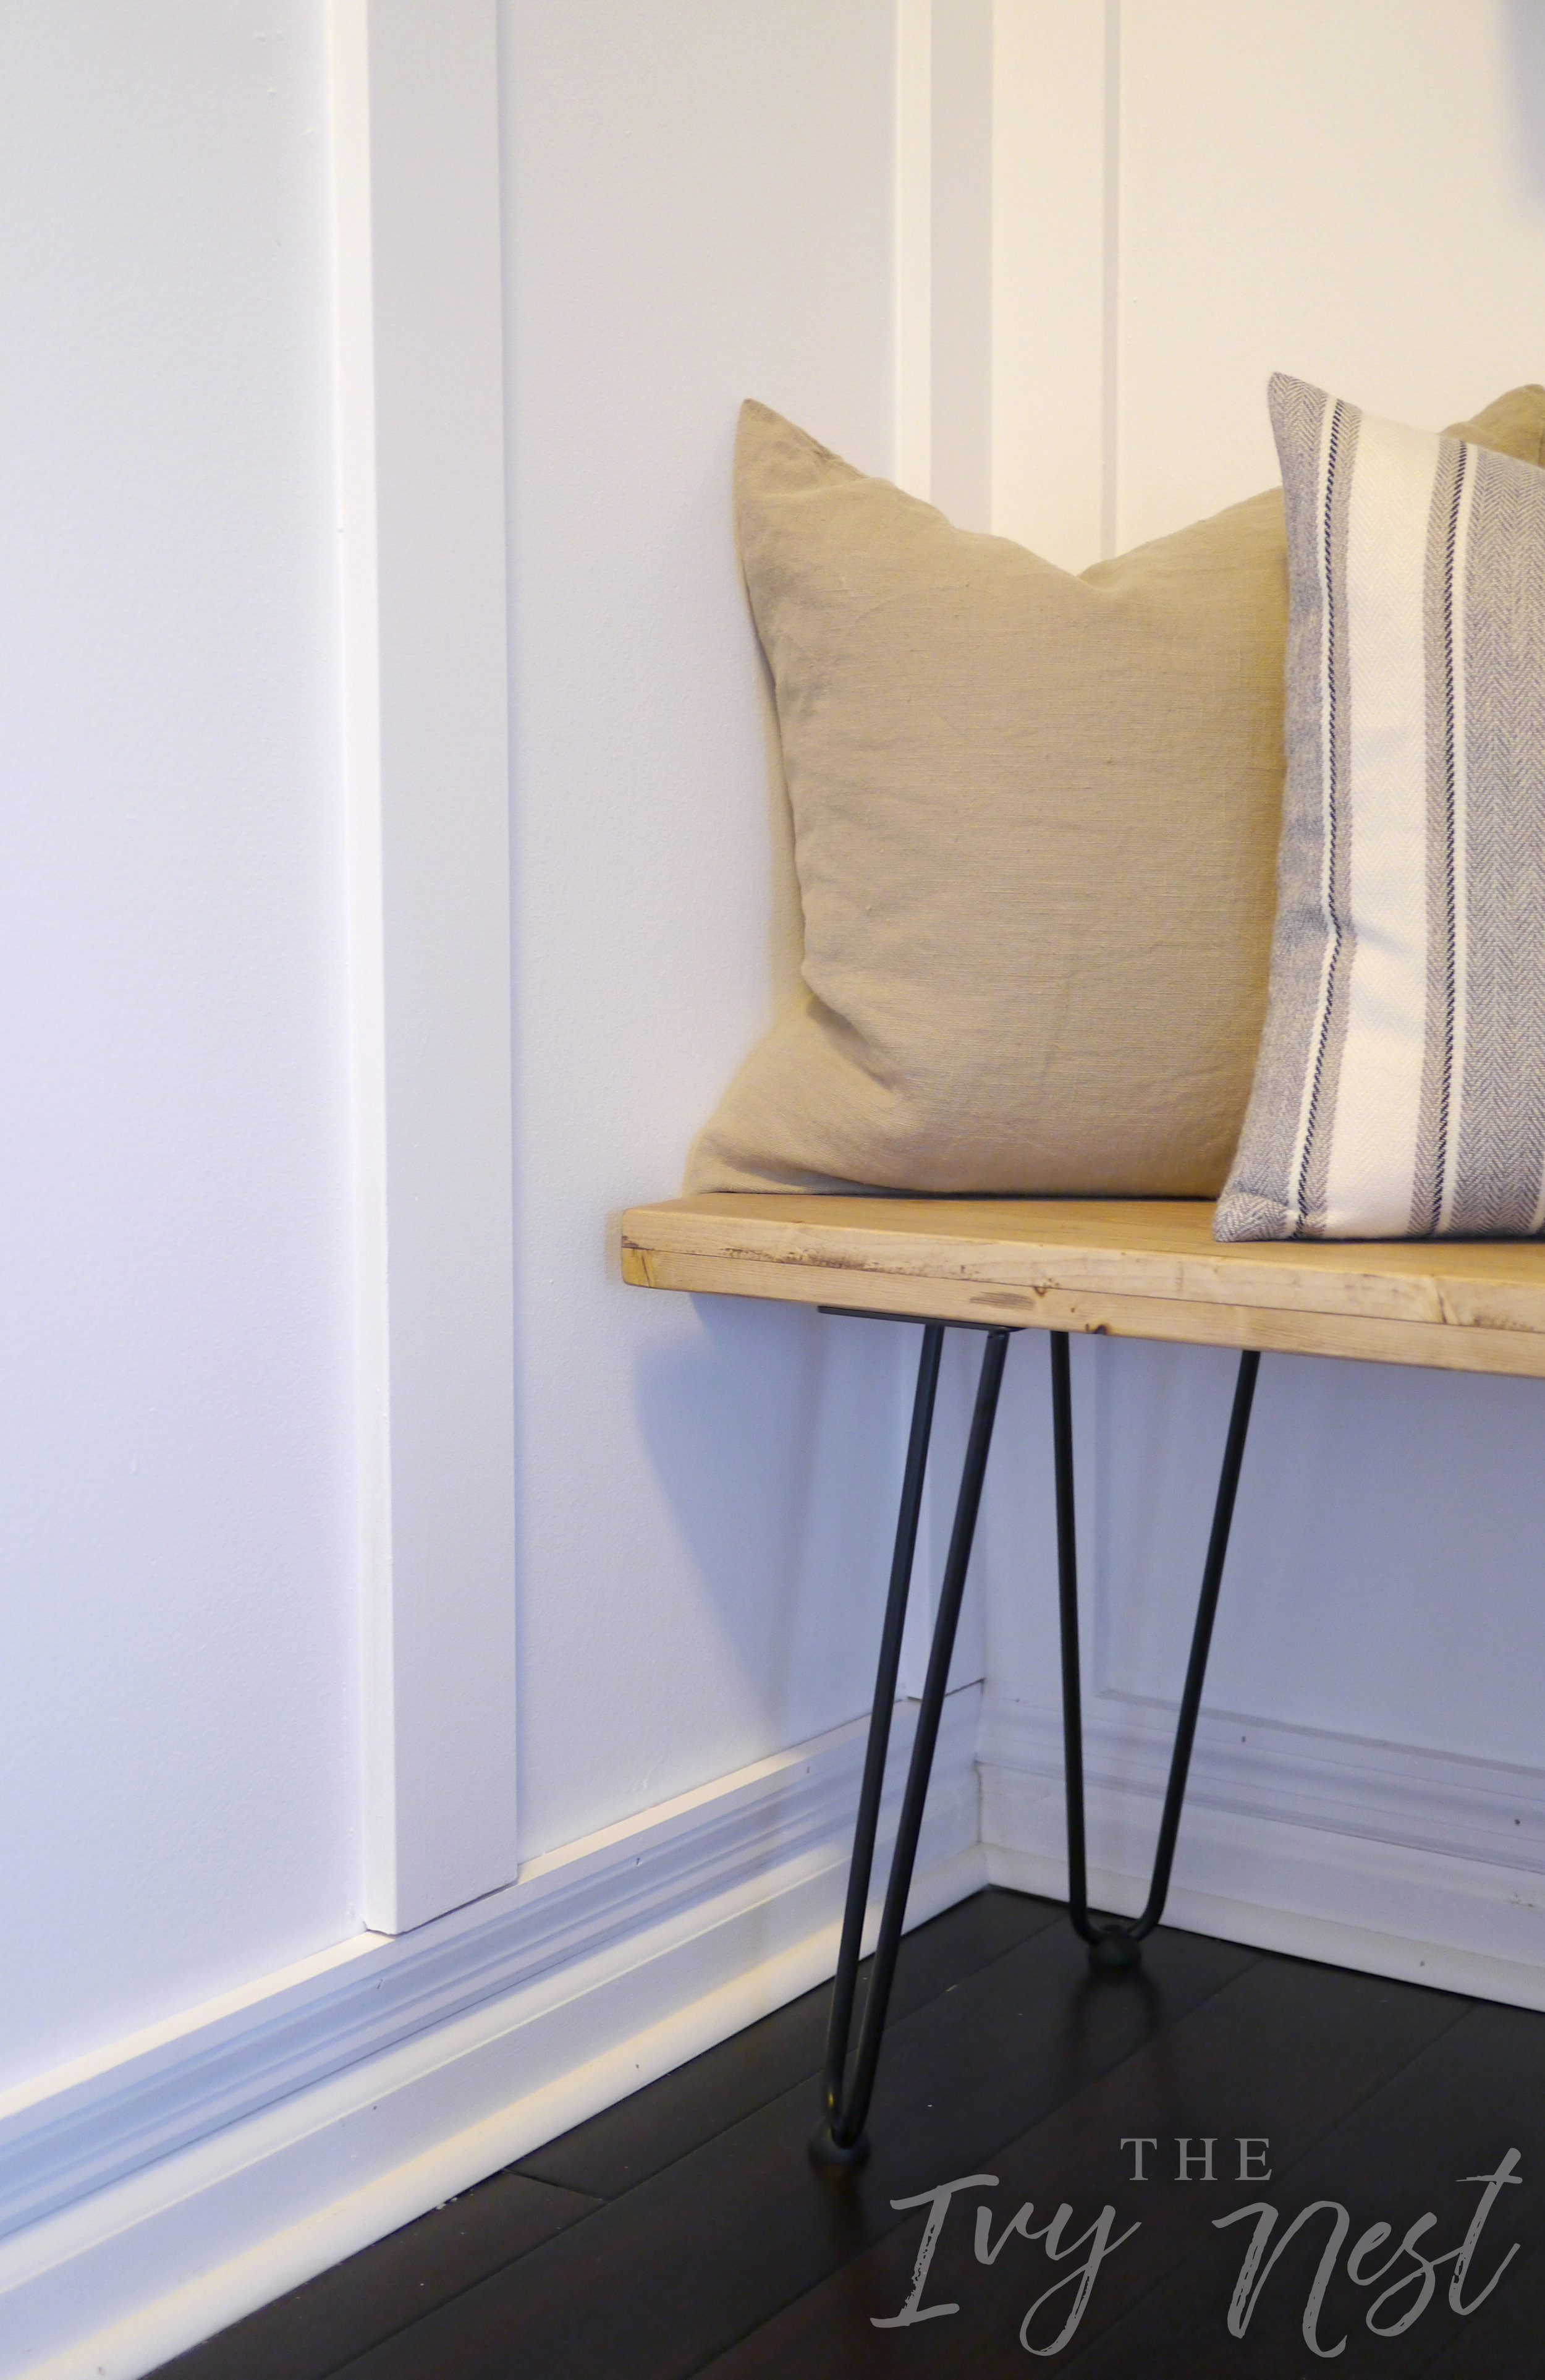
TIP: If you want to install board and batten but don't want to replace your current baseboard, choose a new section of baseboard and install it upside down so that the thickness of your board can rest on the thicker part of your baseboard.
When the baseboards were all up, we then started by nailing one 1x4 board to the wall. This board would help to determine the height of the horizontal boards which we put up next. We did this in this order to ensure that our horizontal boards would be level even though our walls aren't necessarily level. After the horizontal boards were all in place, we then could measure to be sure all the vertical pieces would fit perfectly.
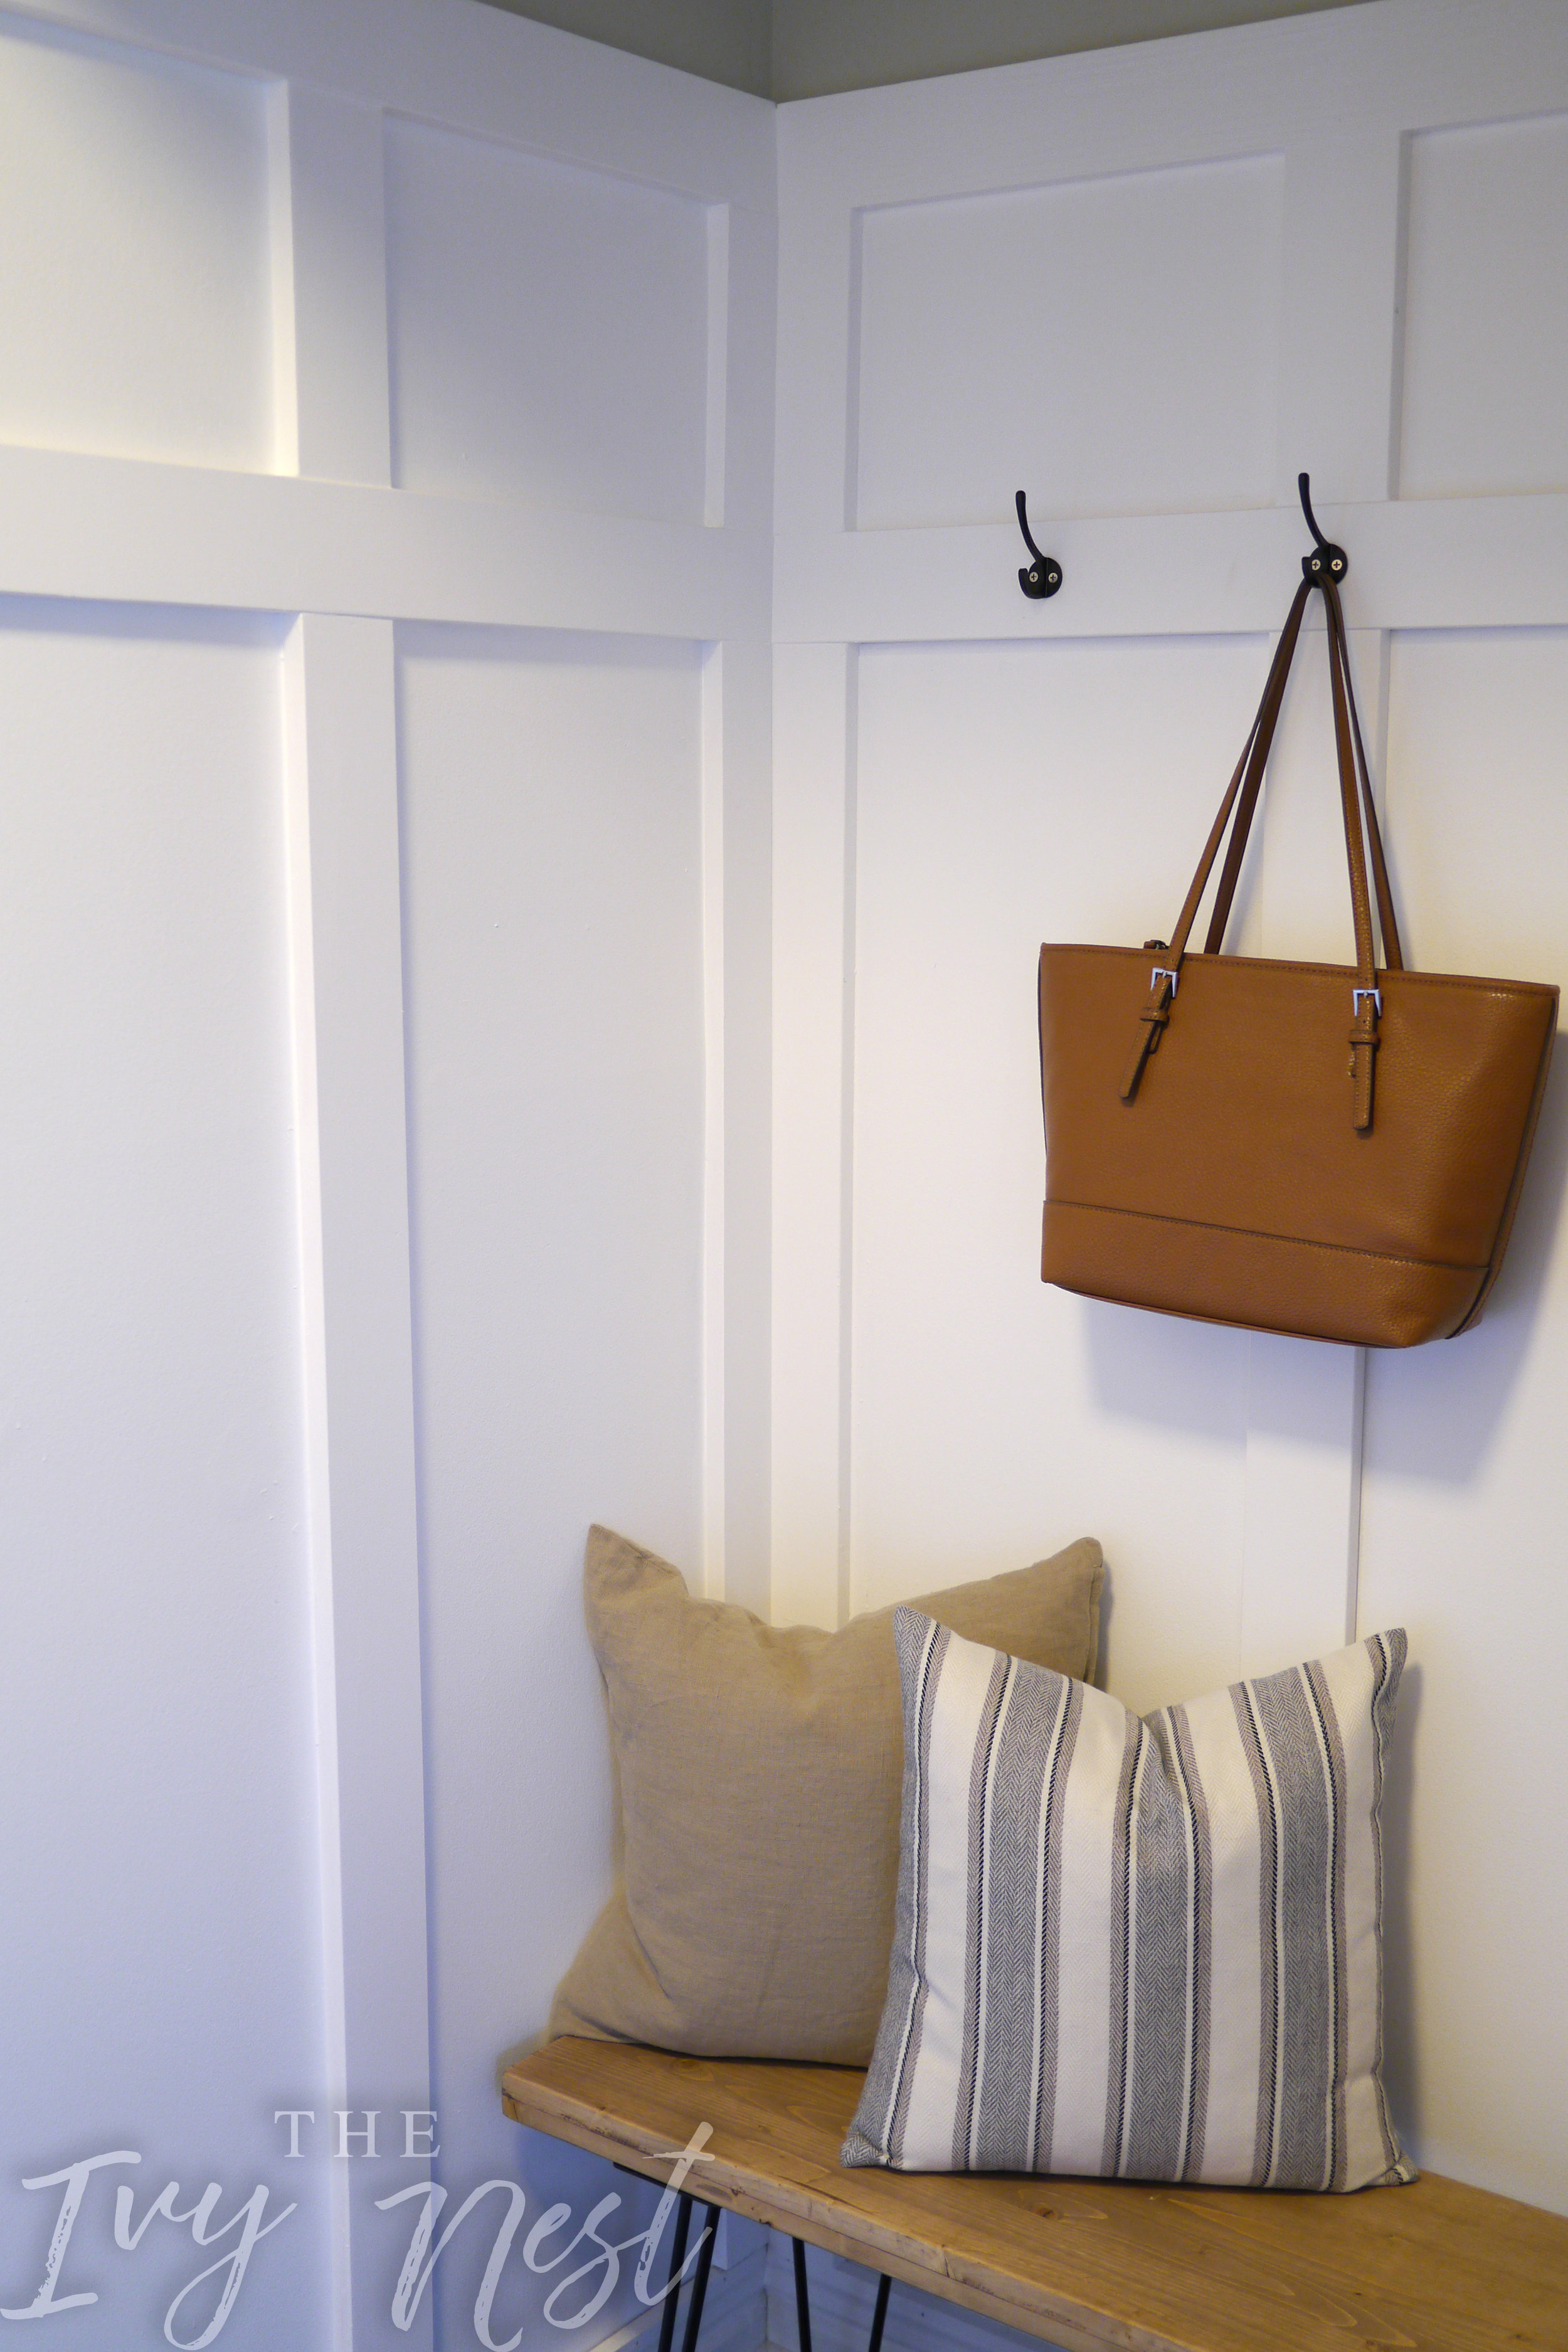
For the corners we did a 1x4 piece on one wall and a 1x3 on the other wall, totally optional, we just liked the look of the two mixed rather than two 1x4s next to each other. We then in the same manner cut and fit the boards for the top extended part of our board and batten.
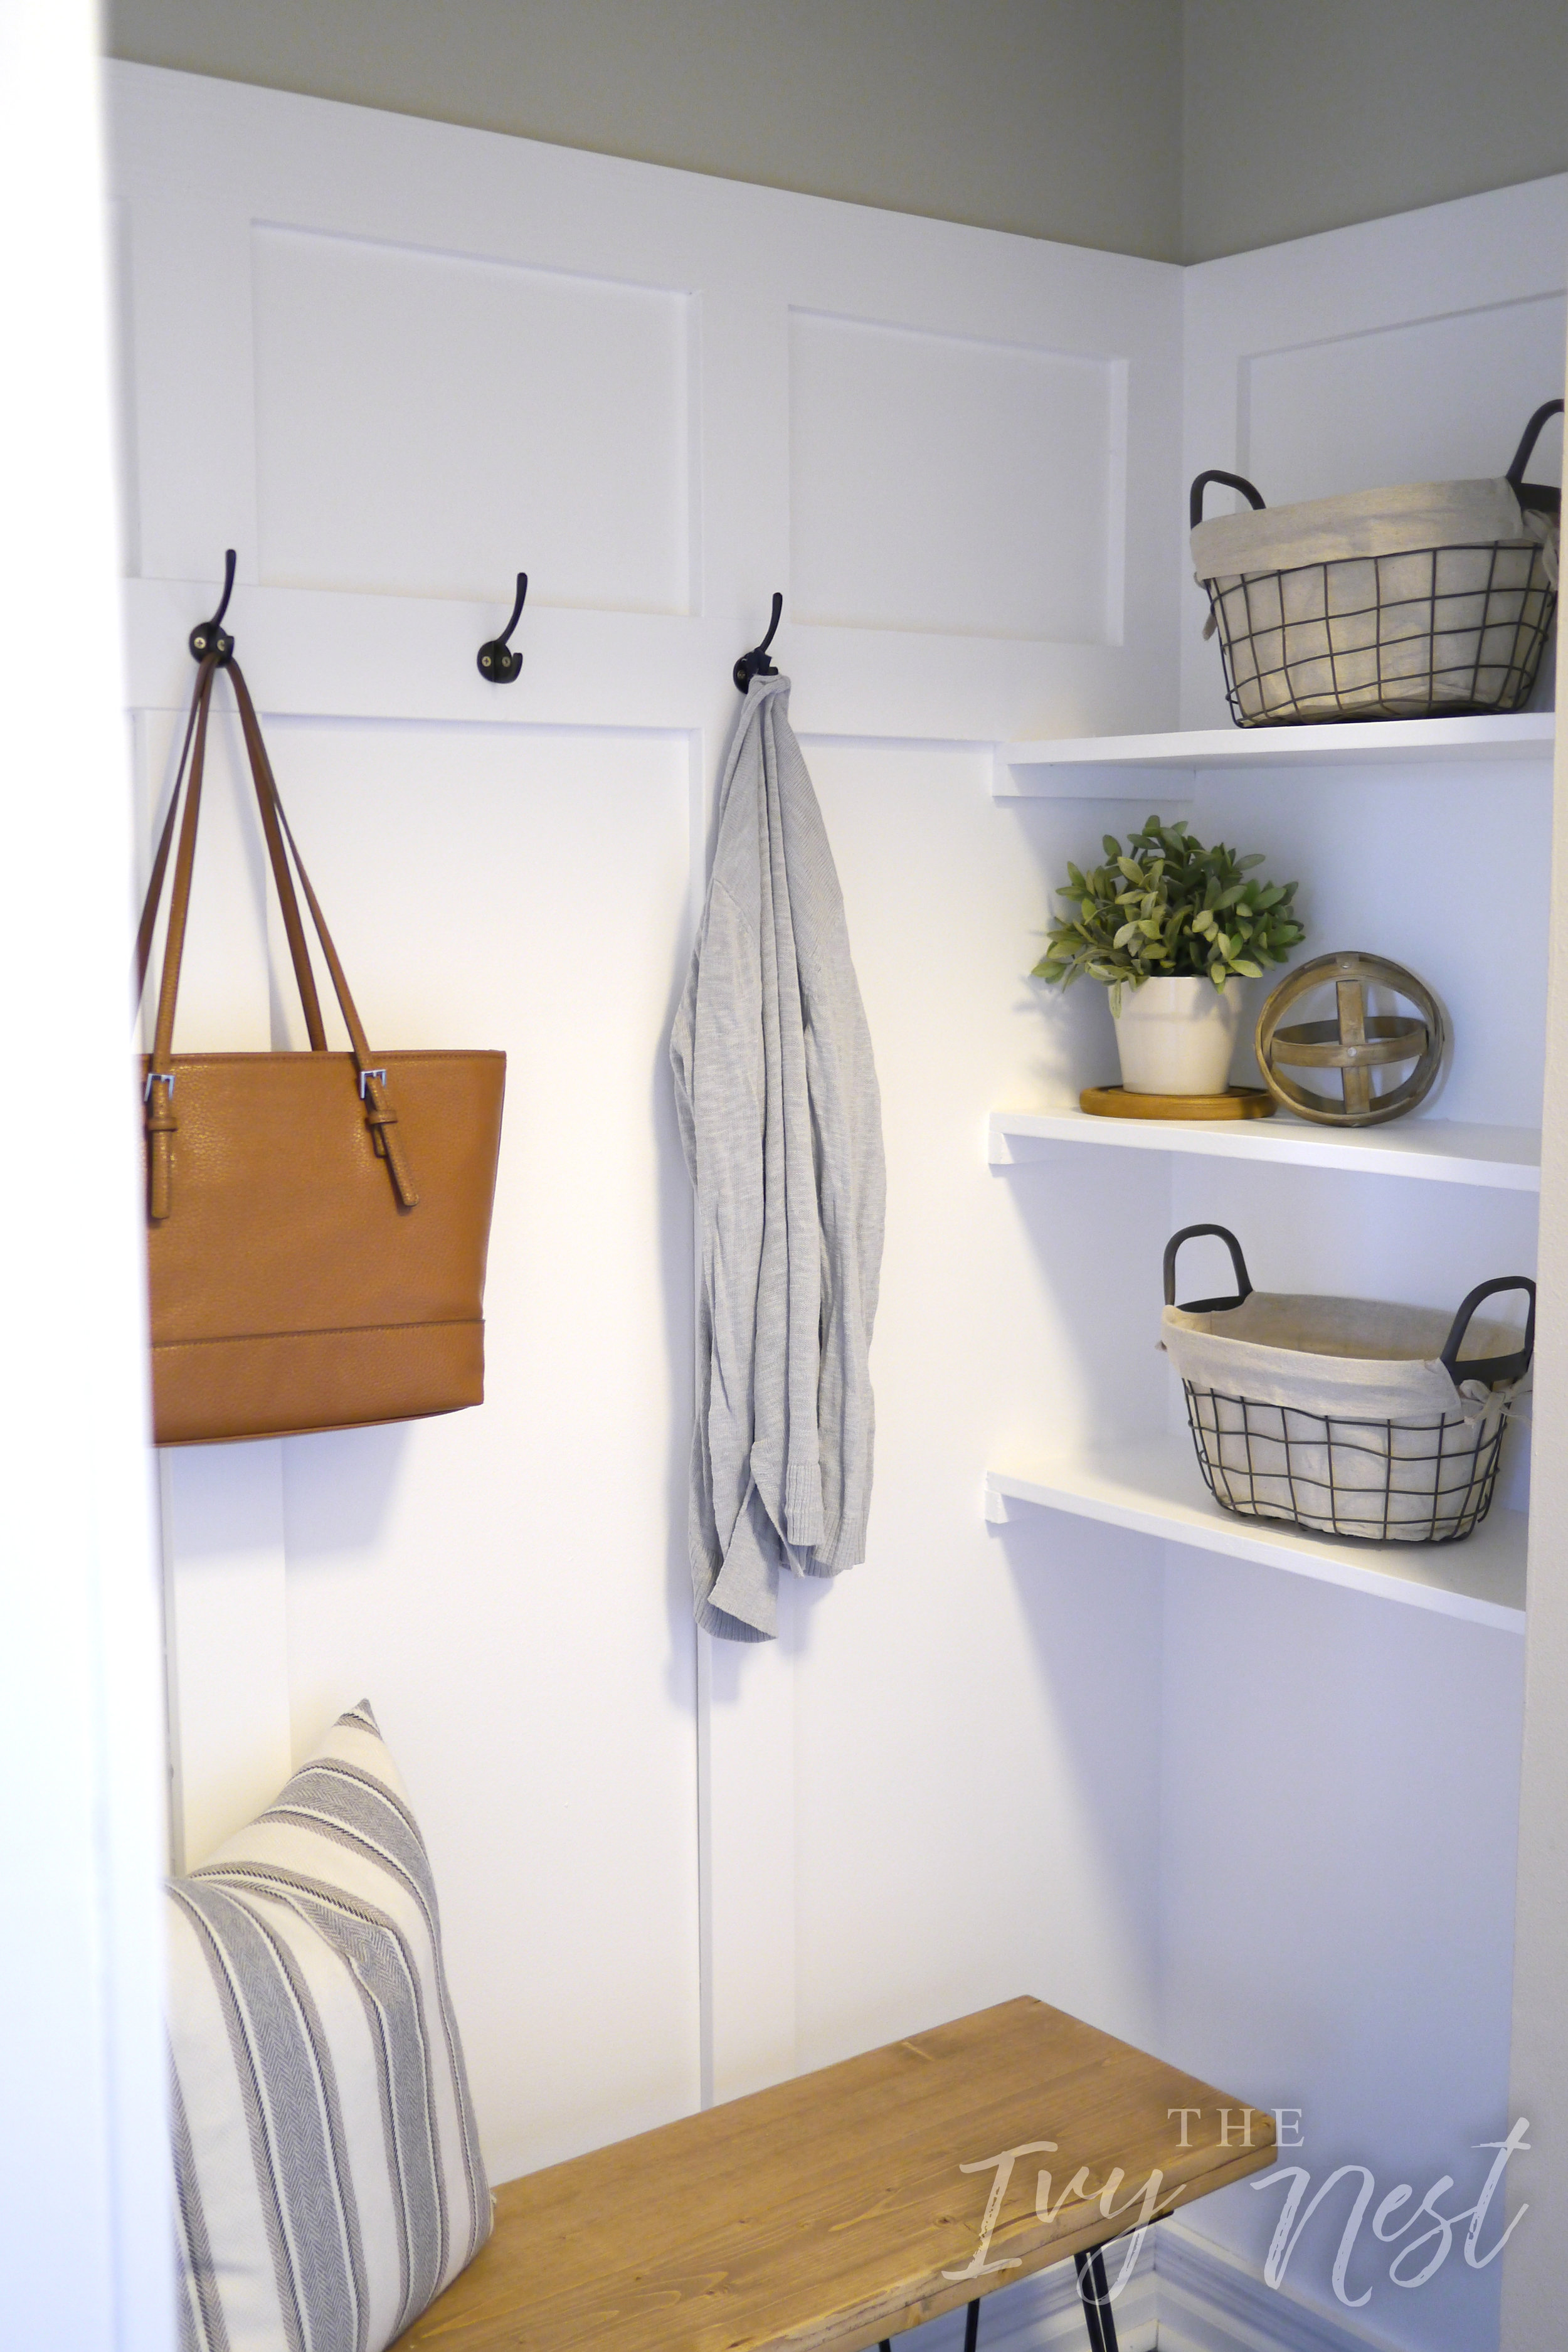
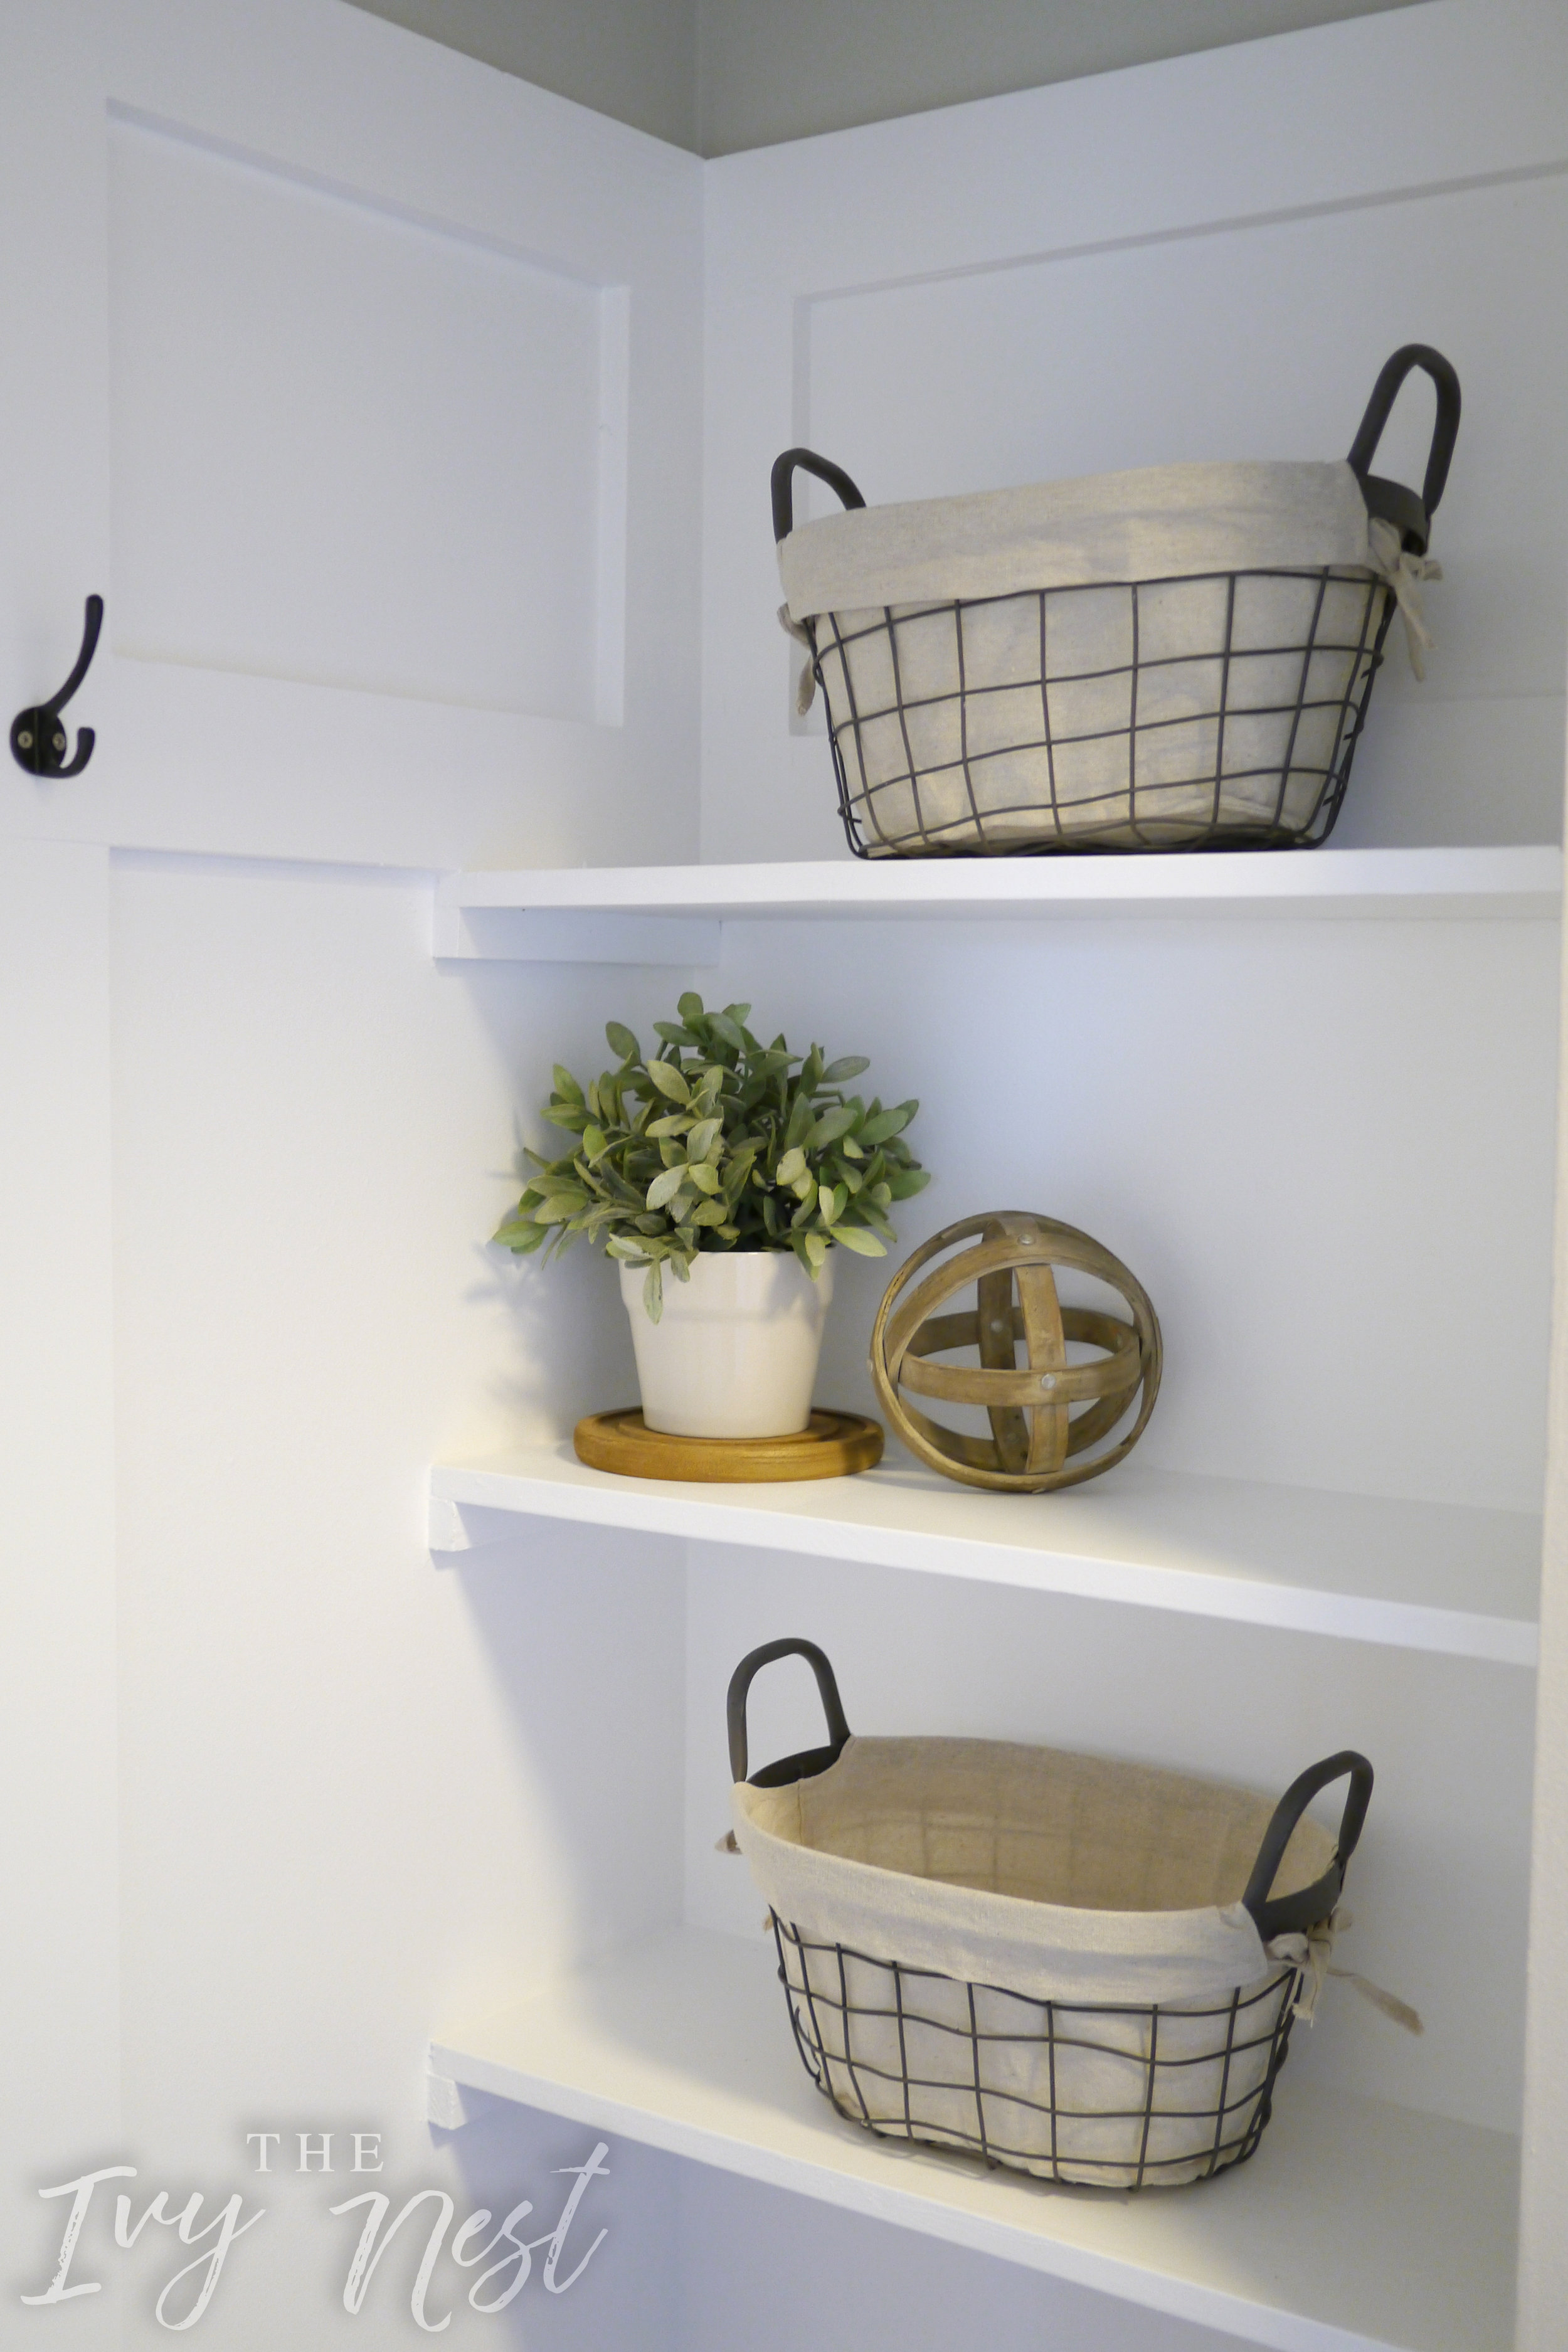
Because of the unique shape of this space, we were able to install shelves along the righthand side where the walls create a little alcove. We measured and cut a larger 1x10 to use for the shelves.
After all of the wood was installed we then went around and filled in all of the nail holes with spackle/wood filler. Also at this point we caulked all of the places where the wood meets the wall. This is one of those small details that makes a HUGE impact, and definitely gives it that professional look when you are finished. Once the spackle was dry we sanded it flush with the wood in preparation for painting.
We use KILZ Premium Interior Primer and did two coats just to ensure full coverage. Meanwhile it looks like one of our cats, Mango, found herself a new spot!!!
From there it was on to paint. We used two coats of Valspar Signature Ultra White, and the coverage was perfect! Also, our wall color is Valspar Villa Grey.
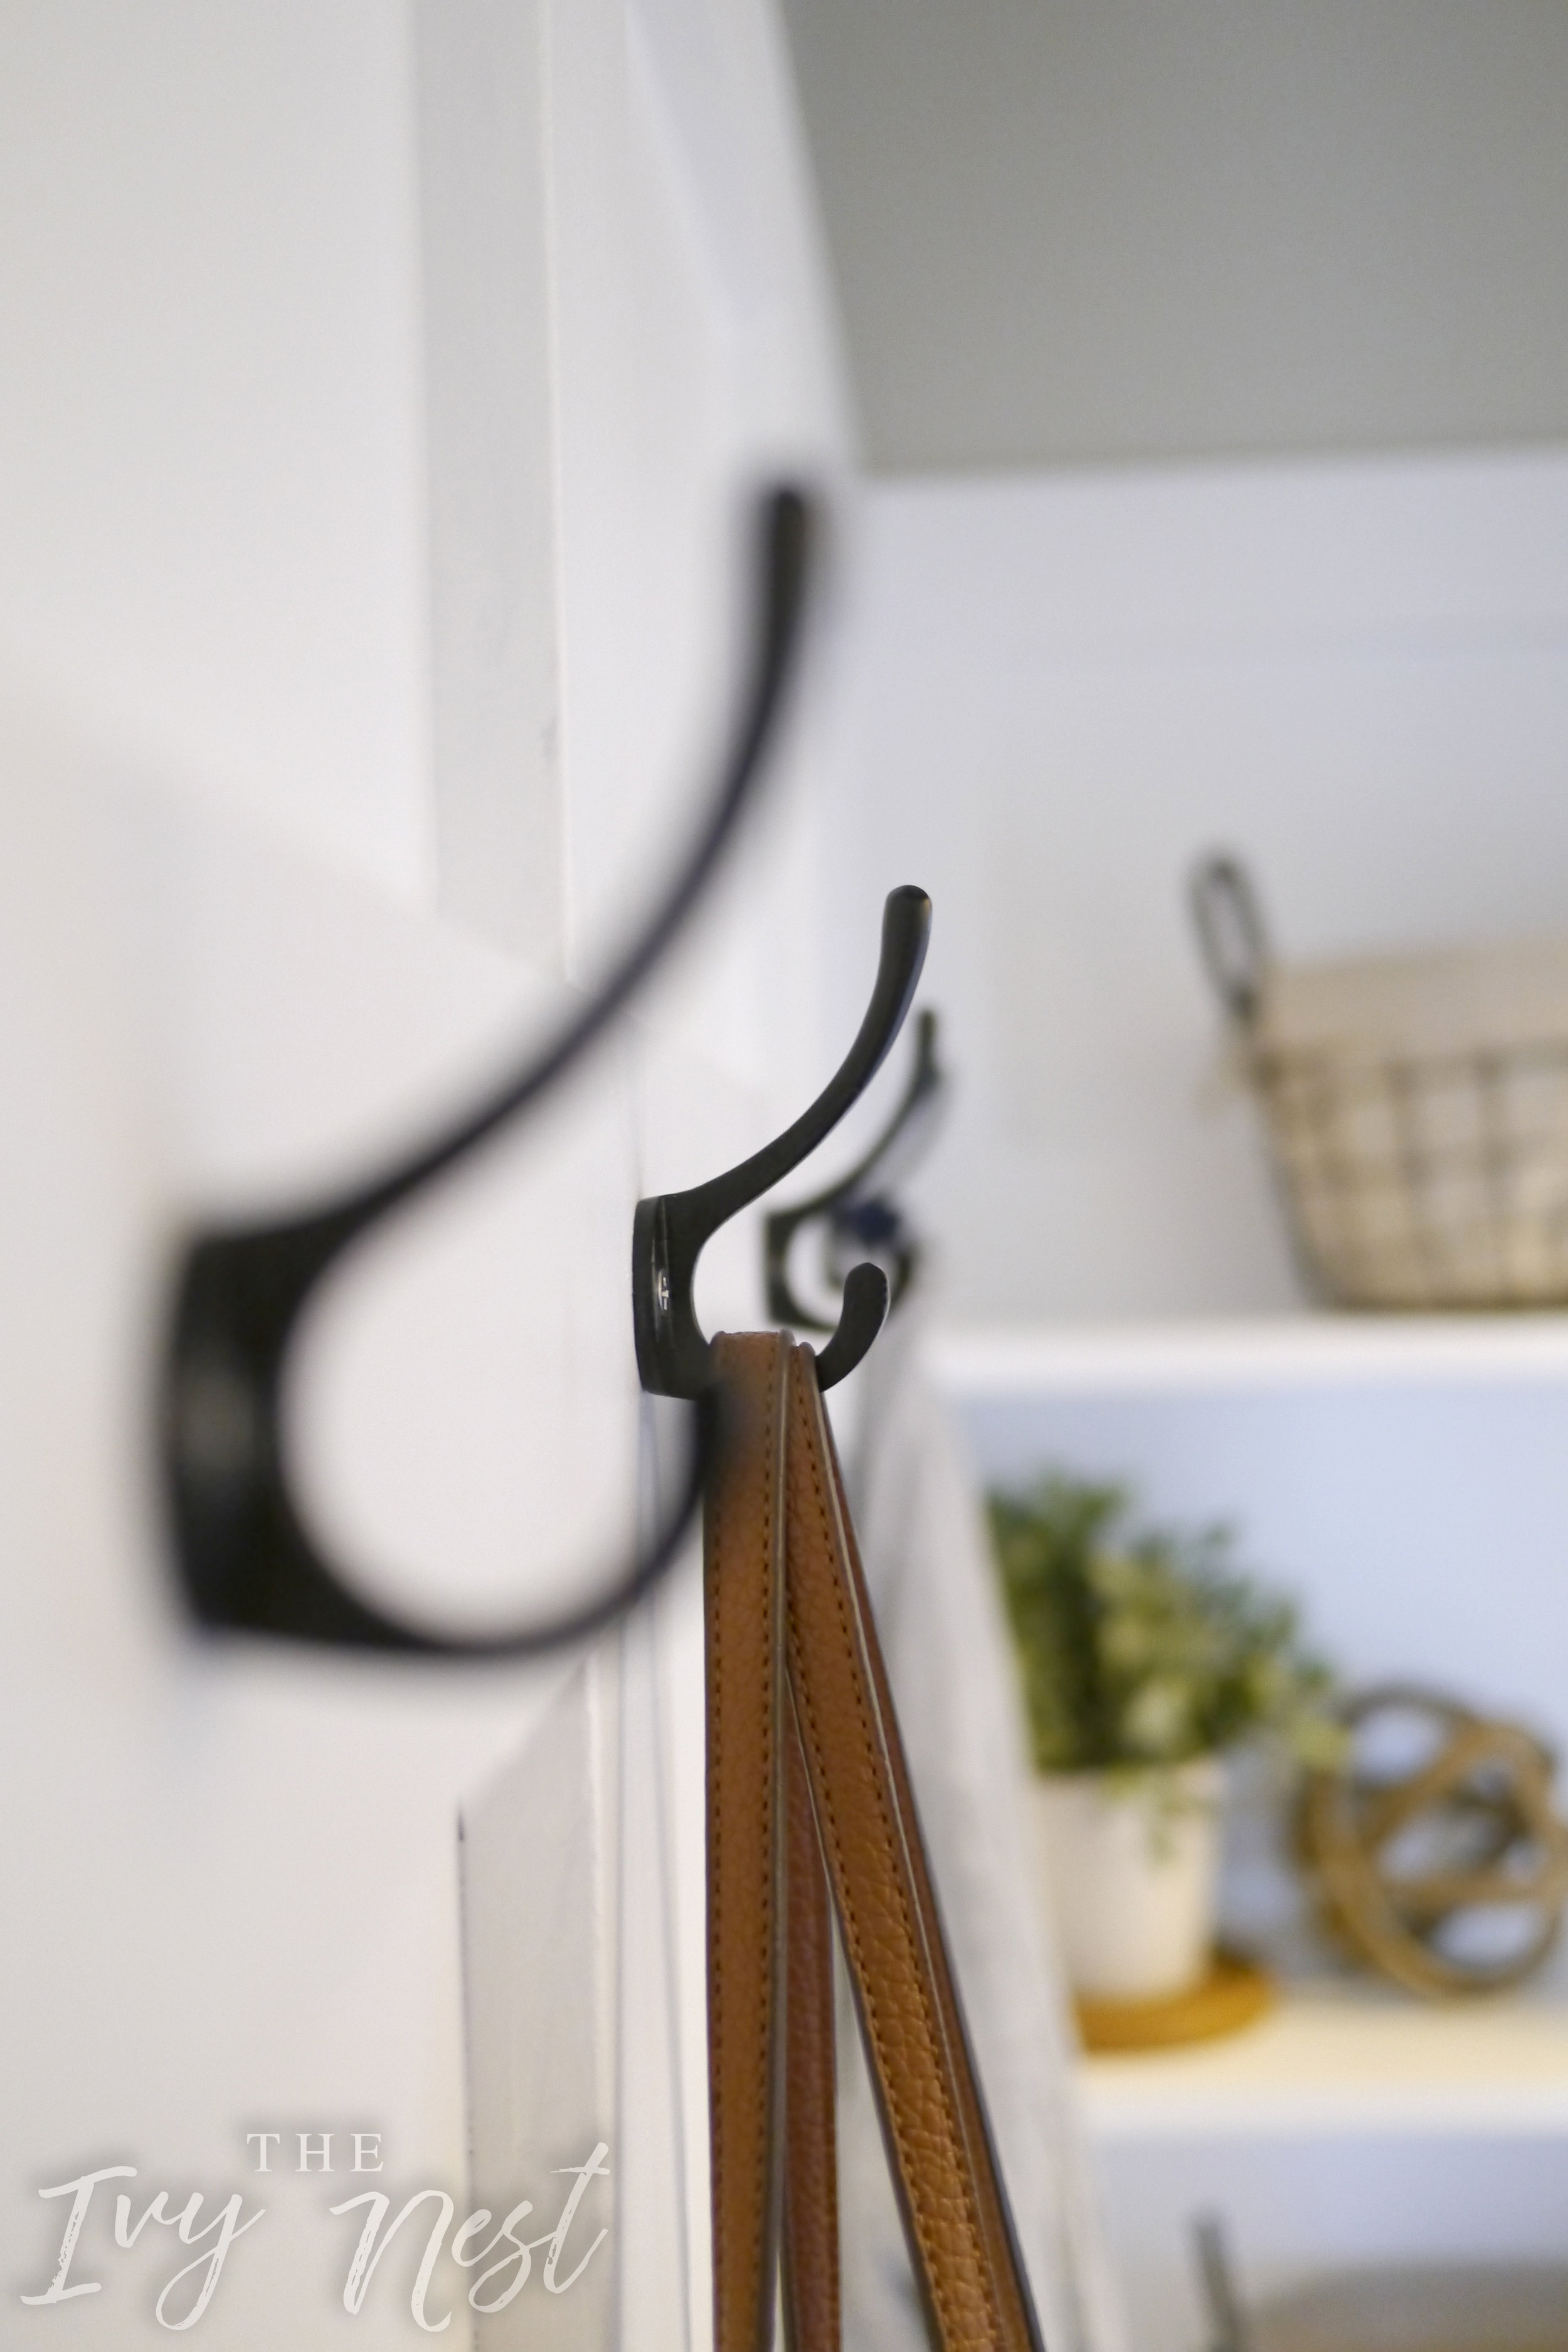
We knew we wanted hooks in this space to be able to hang purses, coats, hats etc. and found the perfect ones at Hobby Lobby. It just so happened to be the week that they were 50% off too! WIN!
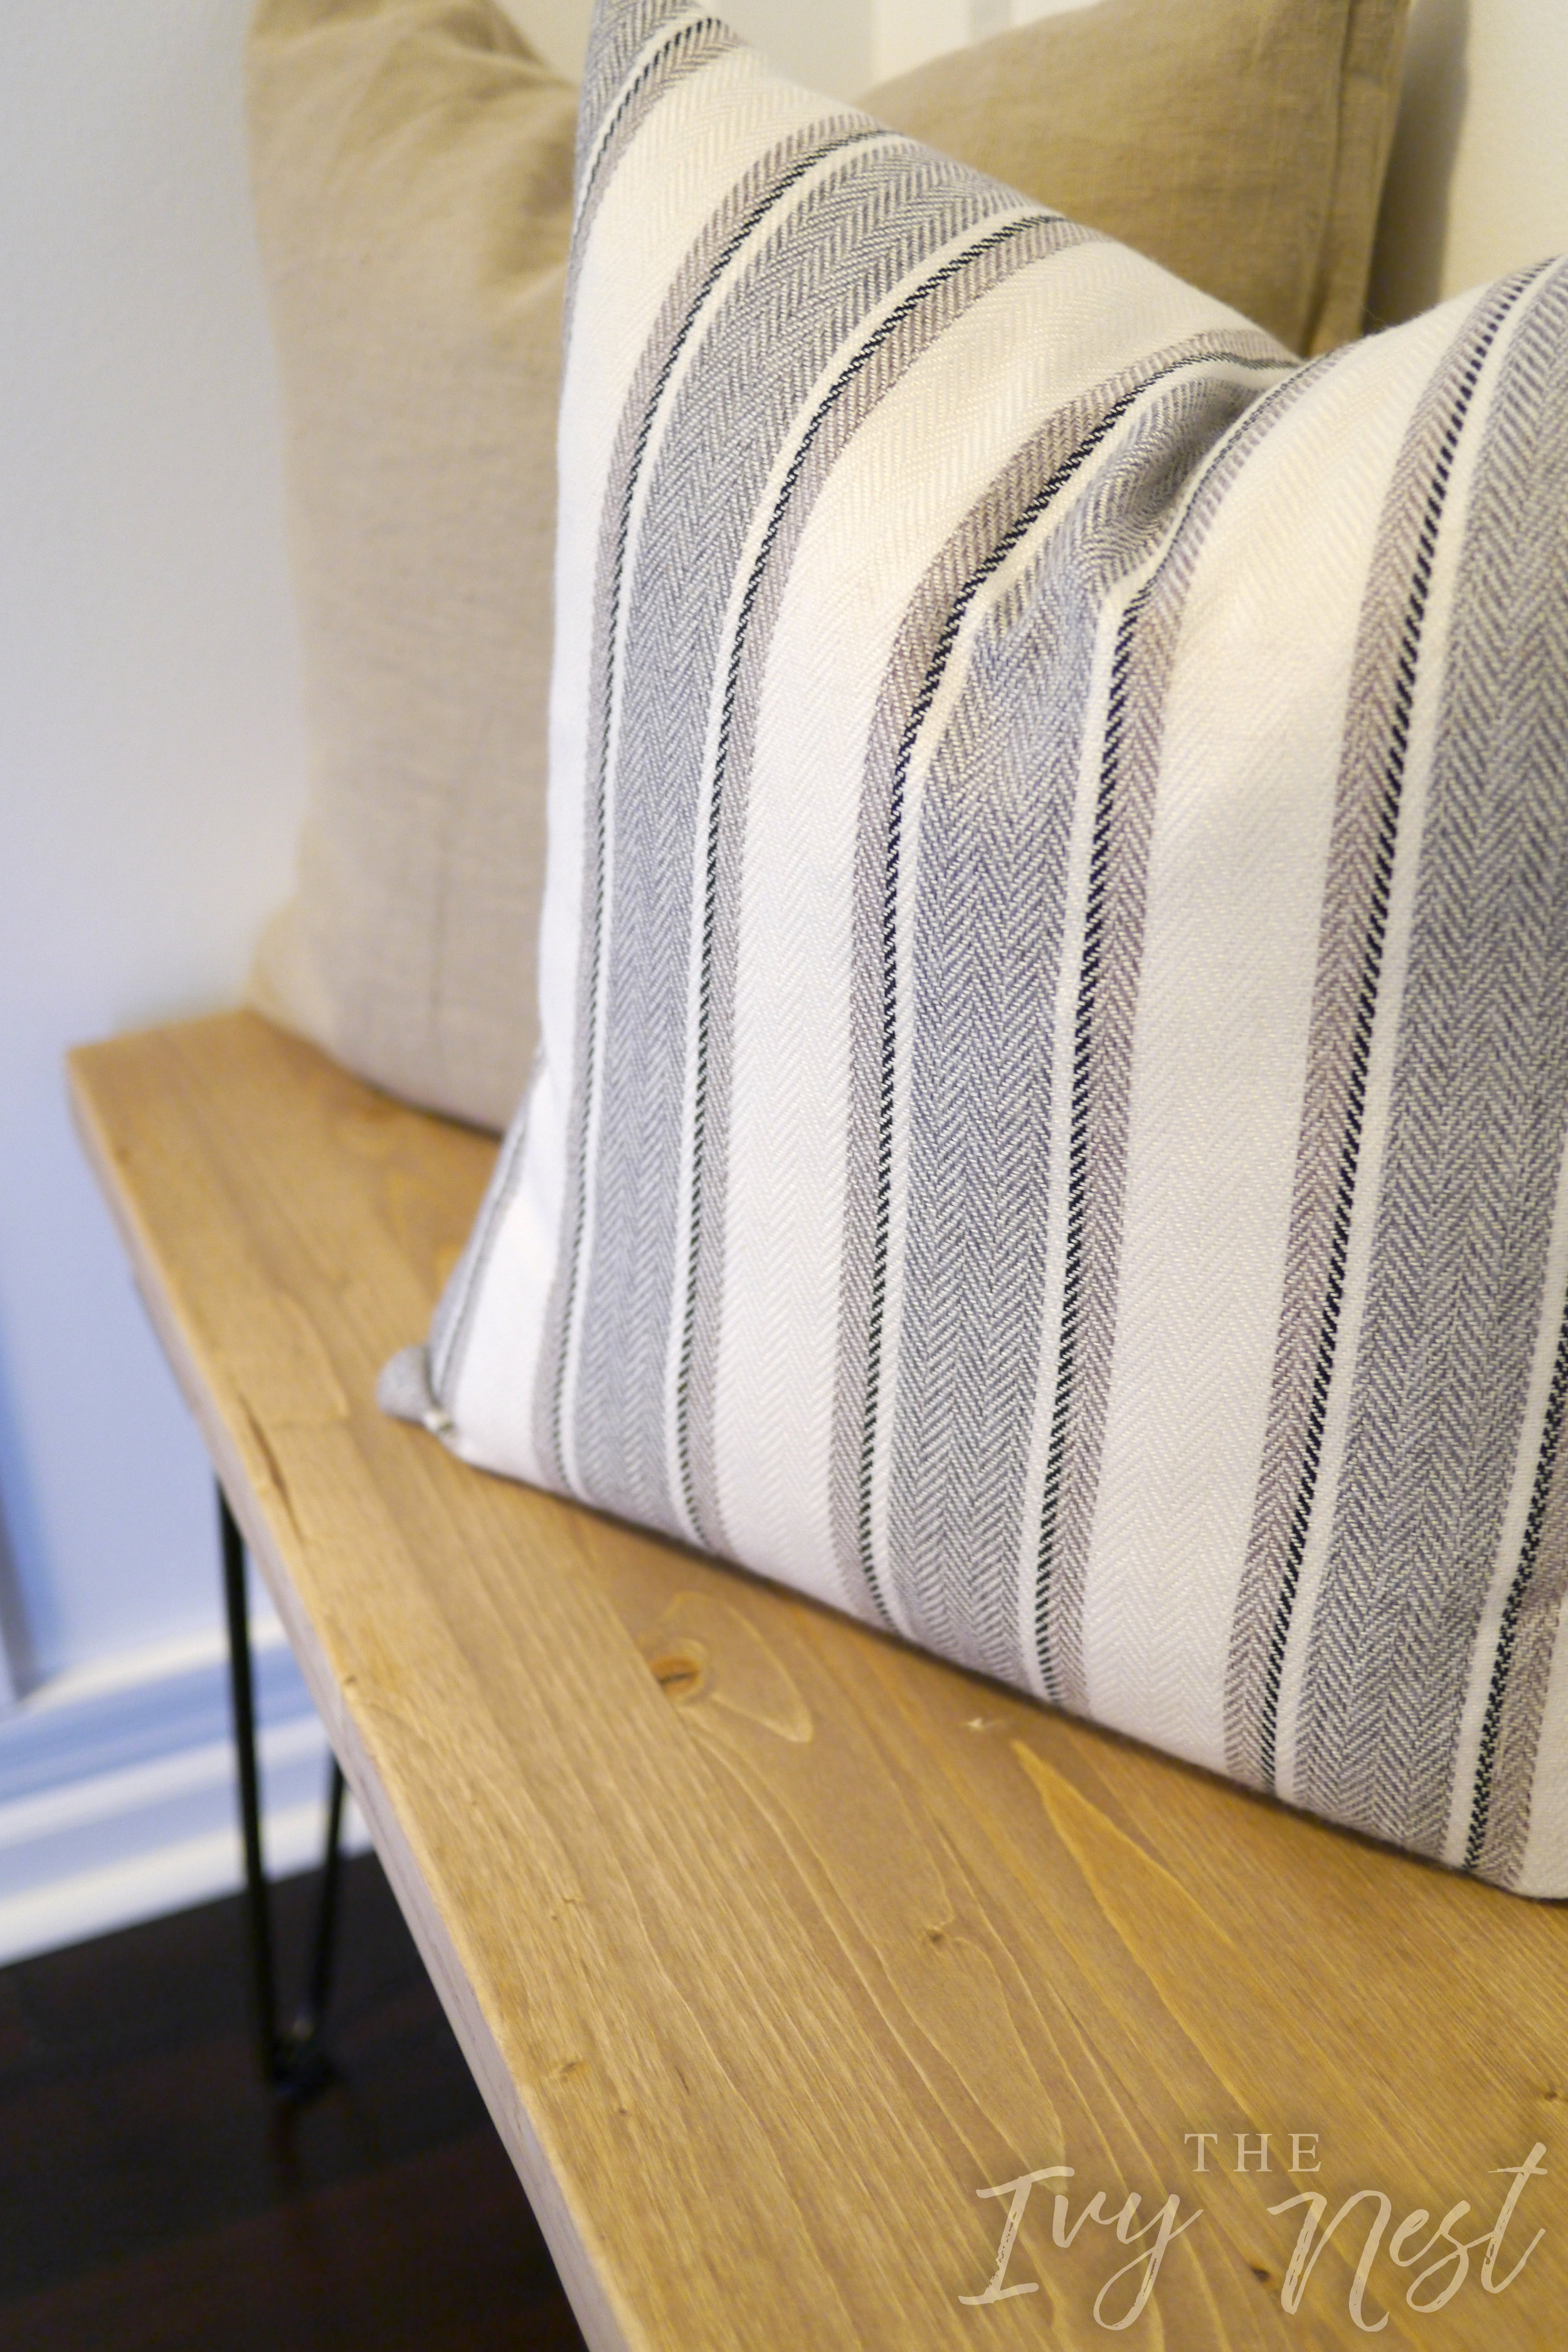
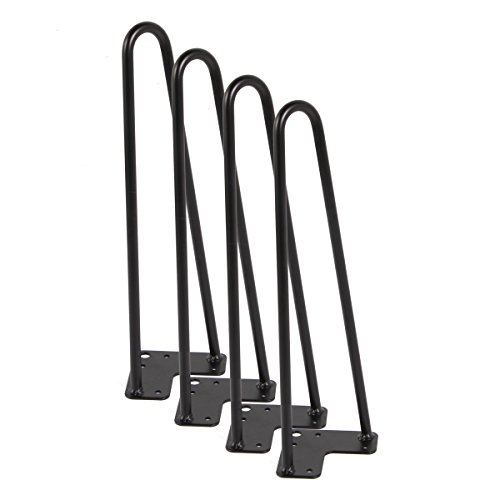
We finished this space off with a DIY hairpin leg bench (I'll provide links below) and some neutral decor. I am sure this will shortly be the place where clutter clings to, but for now it is clean and simple!
A special thank you to my hubby and our handsome little man for helping me make my vision for this space come to life!
I hope your Thursday is off to a great start!


